
Are you intimidated by baking cheesecake? If so, you’re not alone: The process of making cheesecake is mystifying and intimidating to many a baker. These cheesecake tips are meant to take the fear out of the process, and help you avoid some of those scary pitfalls like cracked cheesecake or lumpy batter.
Photos via CakeSpy unless otherwise noted
From proper ingredient prep to techniques for cutting and storing cheesecake, these 10 tips will have you making perfectly dreamy, creamy cheesecakes without fear before you know it.
Apply your cheesecake prowess right away! Explore the art of baking delectable desserts with the Craftsy course Show-stopping Cheesecakes.
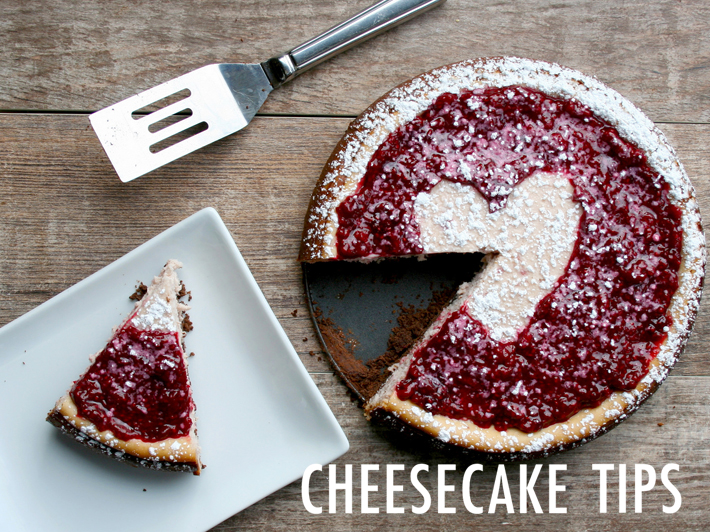
10 tips for cheesecake success
Master these tips and tricks, and you’ll win at dessert every time.
1. Cream cheese at room temperature, please.
If you feel like just about every cheesecake recipe calls for “softened” cream cheese, you’re correct — and it’s with good reason. Softened cream cheese is creamier when mixed and incorporates better with all of the other ingredients in the recipe. Too-cold cold cream cheese likes to remain lumpy and doesn’t fully mix into a cohesive batter.
If you don’t have time to wait for the cream cheese to soften on the countertop, use this quick trick: Put your cream cheese bricks (out of the foil wrapping) in a microwave-safe bowl and microwave in 20-second blasts until it is soft, but not too warm.
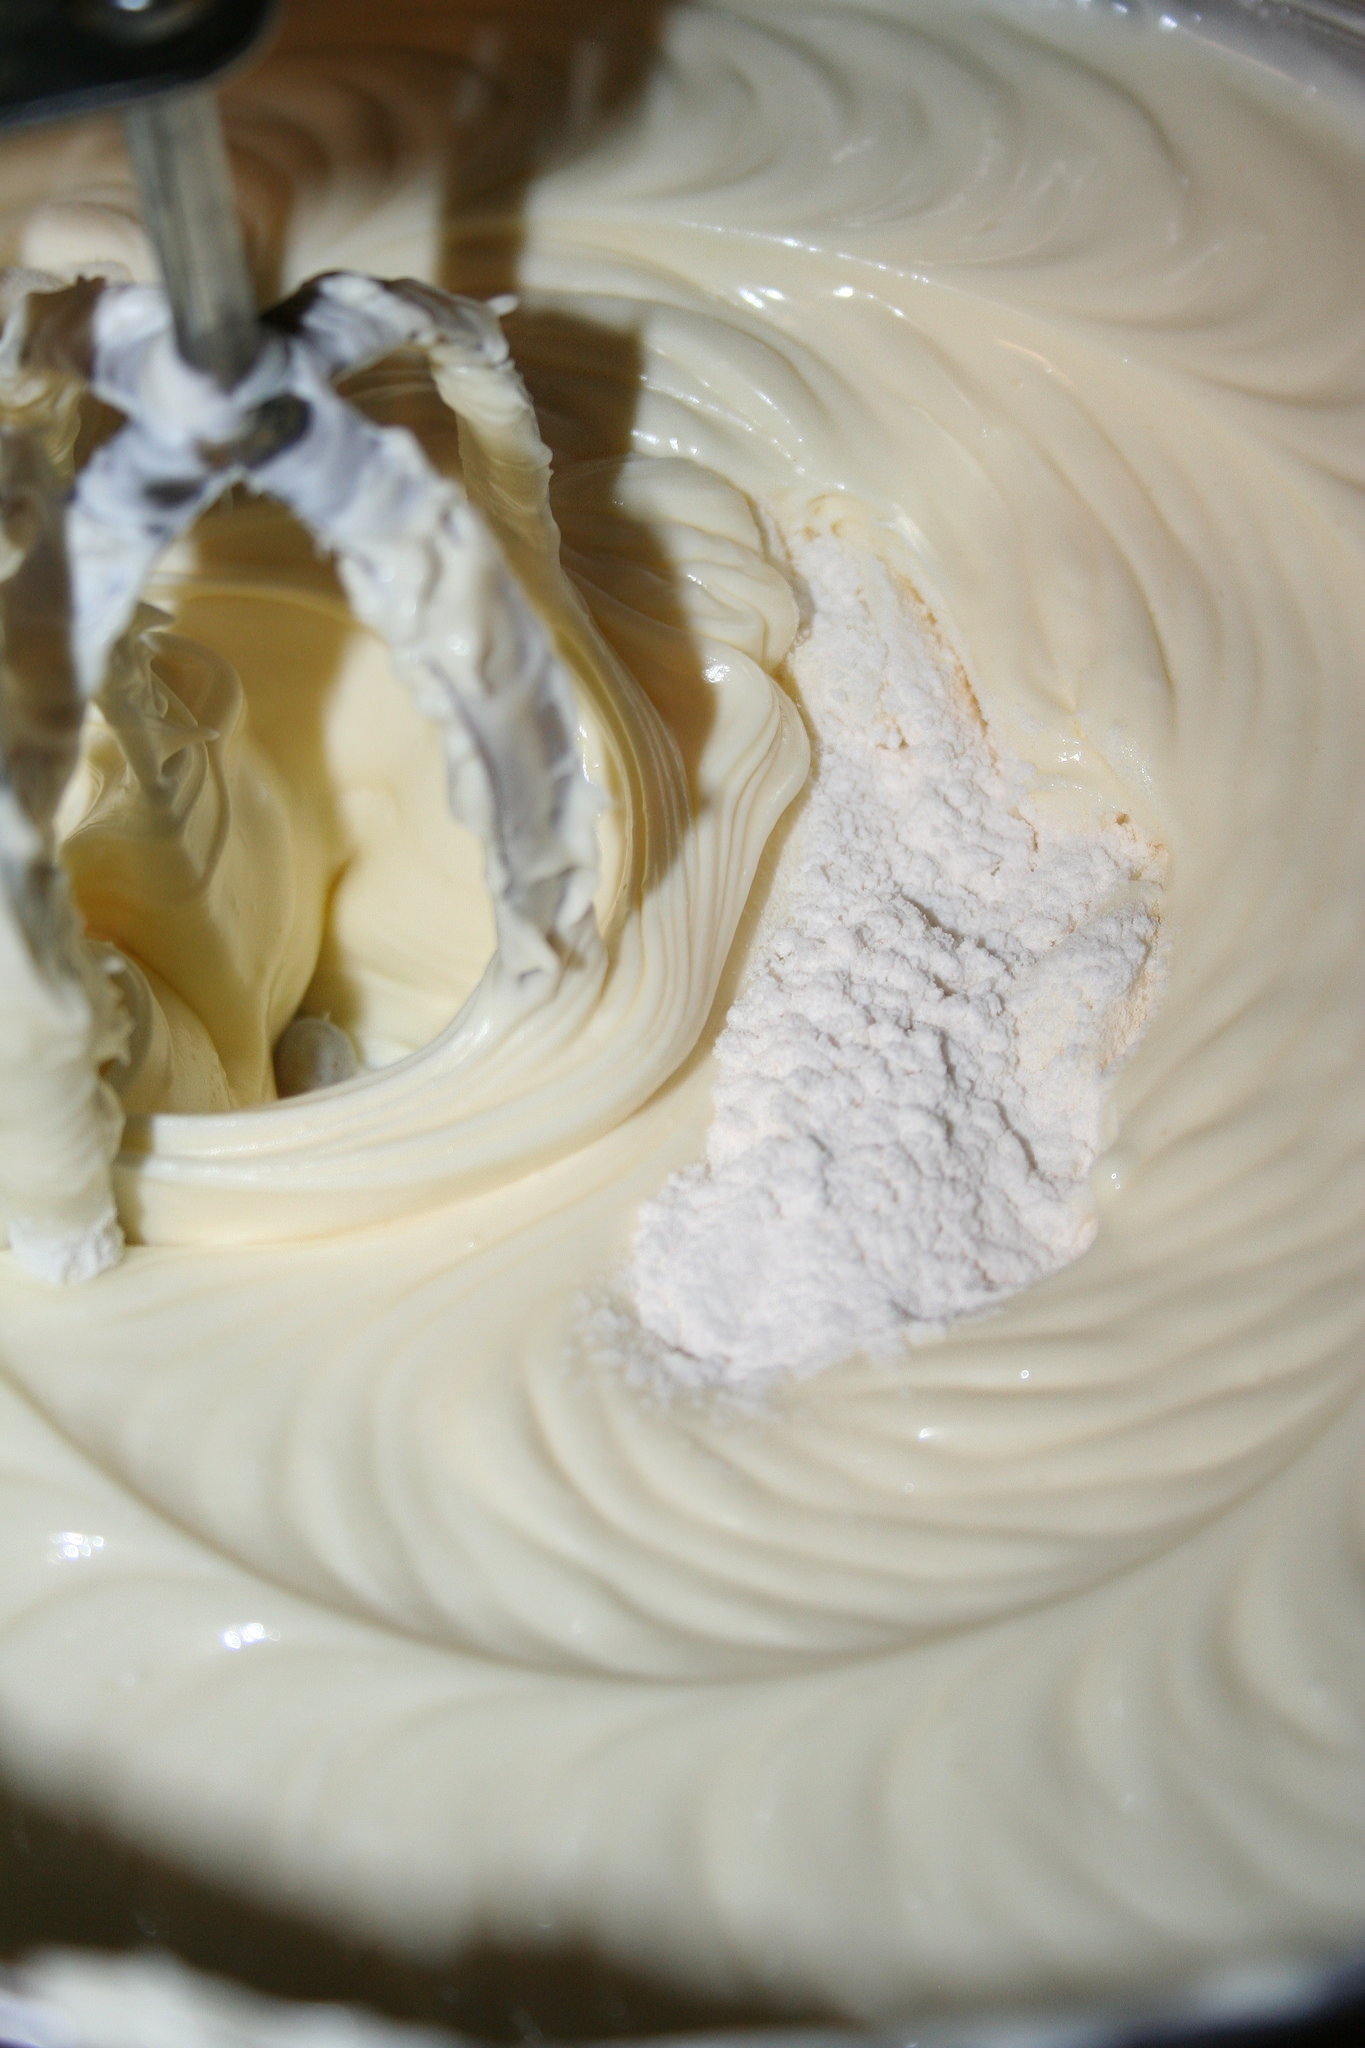
2. Use a little flour or cornstarch.
Many cheesecake recipes contain a small amount (as little as one tablespoon) of flour or cornstarch. Turns out, this tiny addition can have big positive results. The starch interacts with the egg proteins, preventing them from over-coagulating. In terms of your edible results, this gives the cake a more cohesive texture and can discourage cracks.
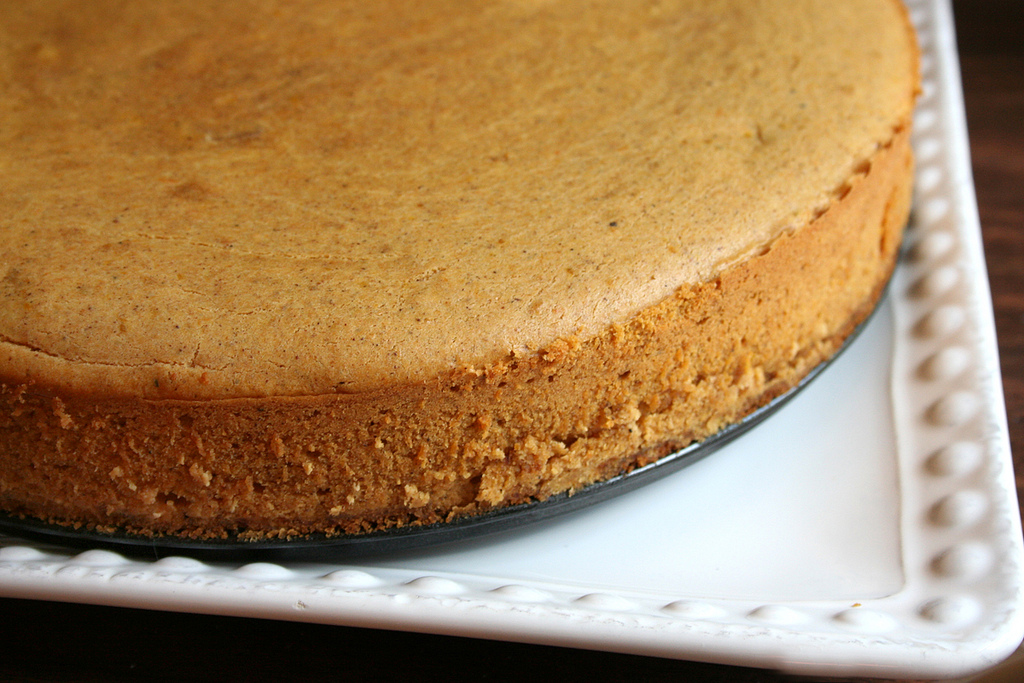
3. Always use a springform pan.
A springform pan — a pan that has a spring to hold the sides of the pan in place — is the tool of choice for cheesecakes. Since cheesecakes are very delicate and custard-like once baked, you never want to invert them on to a cooling rack as you would, say, a birthday cake. The removable sides make it easy to extract the cake from the pan without sacrificing the form.
Be sure to grease the bottom and sides of your springform pan for easy removal.
4. Don’t over-mix your batter.
Mixing your cheesecake batter is a delicate balance. It’s important to sufficiently mix the cream cheese to remove any lumps — but at the same time, overworking the batter and incorporating too much air can cause the cake to rise too rapidly in the oven and then fall, resulting in cracks.
The secret behind perfect mixing ultimately comes down to having your proper mise en place. Making sure that the cream cheese is properly softened, your eggs are at room temperature and the other ingredients are pre-measured and ready to go will help you can create a smooth but not overworked cheesecake batter.
5. Don’t forget the water bath.
Don’t forget to give your cheesecake a bath! A water bath, that is. A water bath — or bain-marie if you’re feeling fancy — is the process of putting your baking pan in a pan of water. The water helps the heat disperse evenly, resulting in an evenly baked cake without those dreaded cracks.
The process goes like so: Reinforce the bottom and sides of the exterior of your springform pan with aluminum foil and fill the pan with your batter. Then, place your filled springform pan in a large roasting pan. Fill the pan with hot water (enough so that it comes about halfway up the sides of the springform pan) and put it all in the oven.
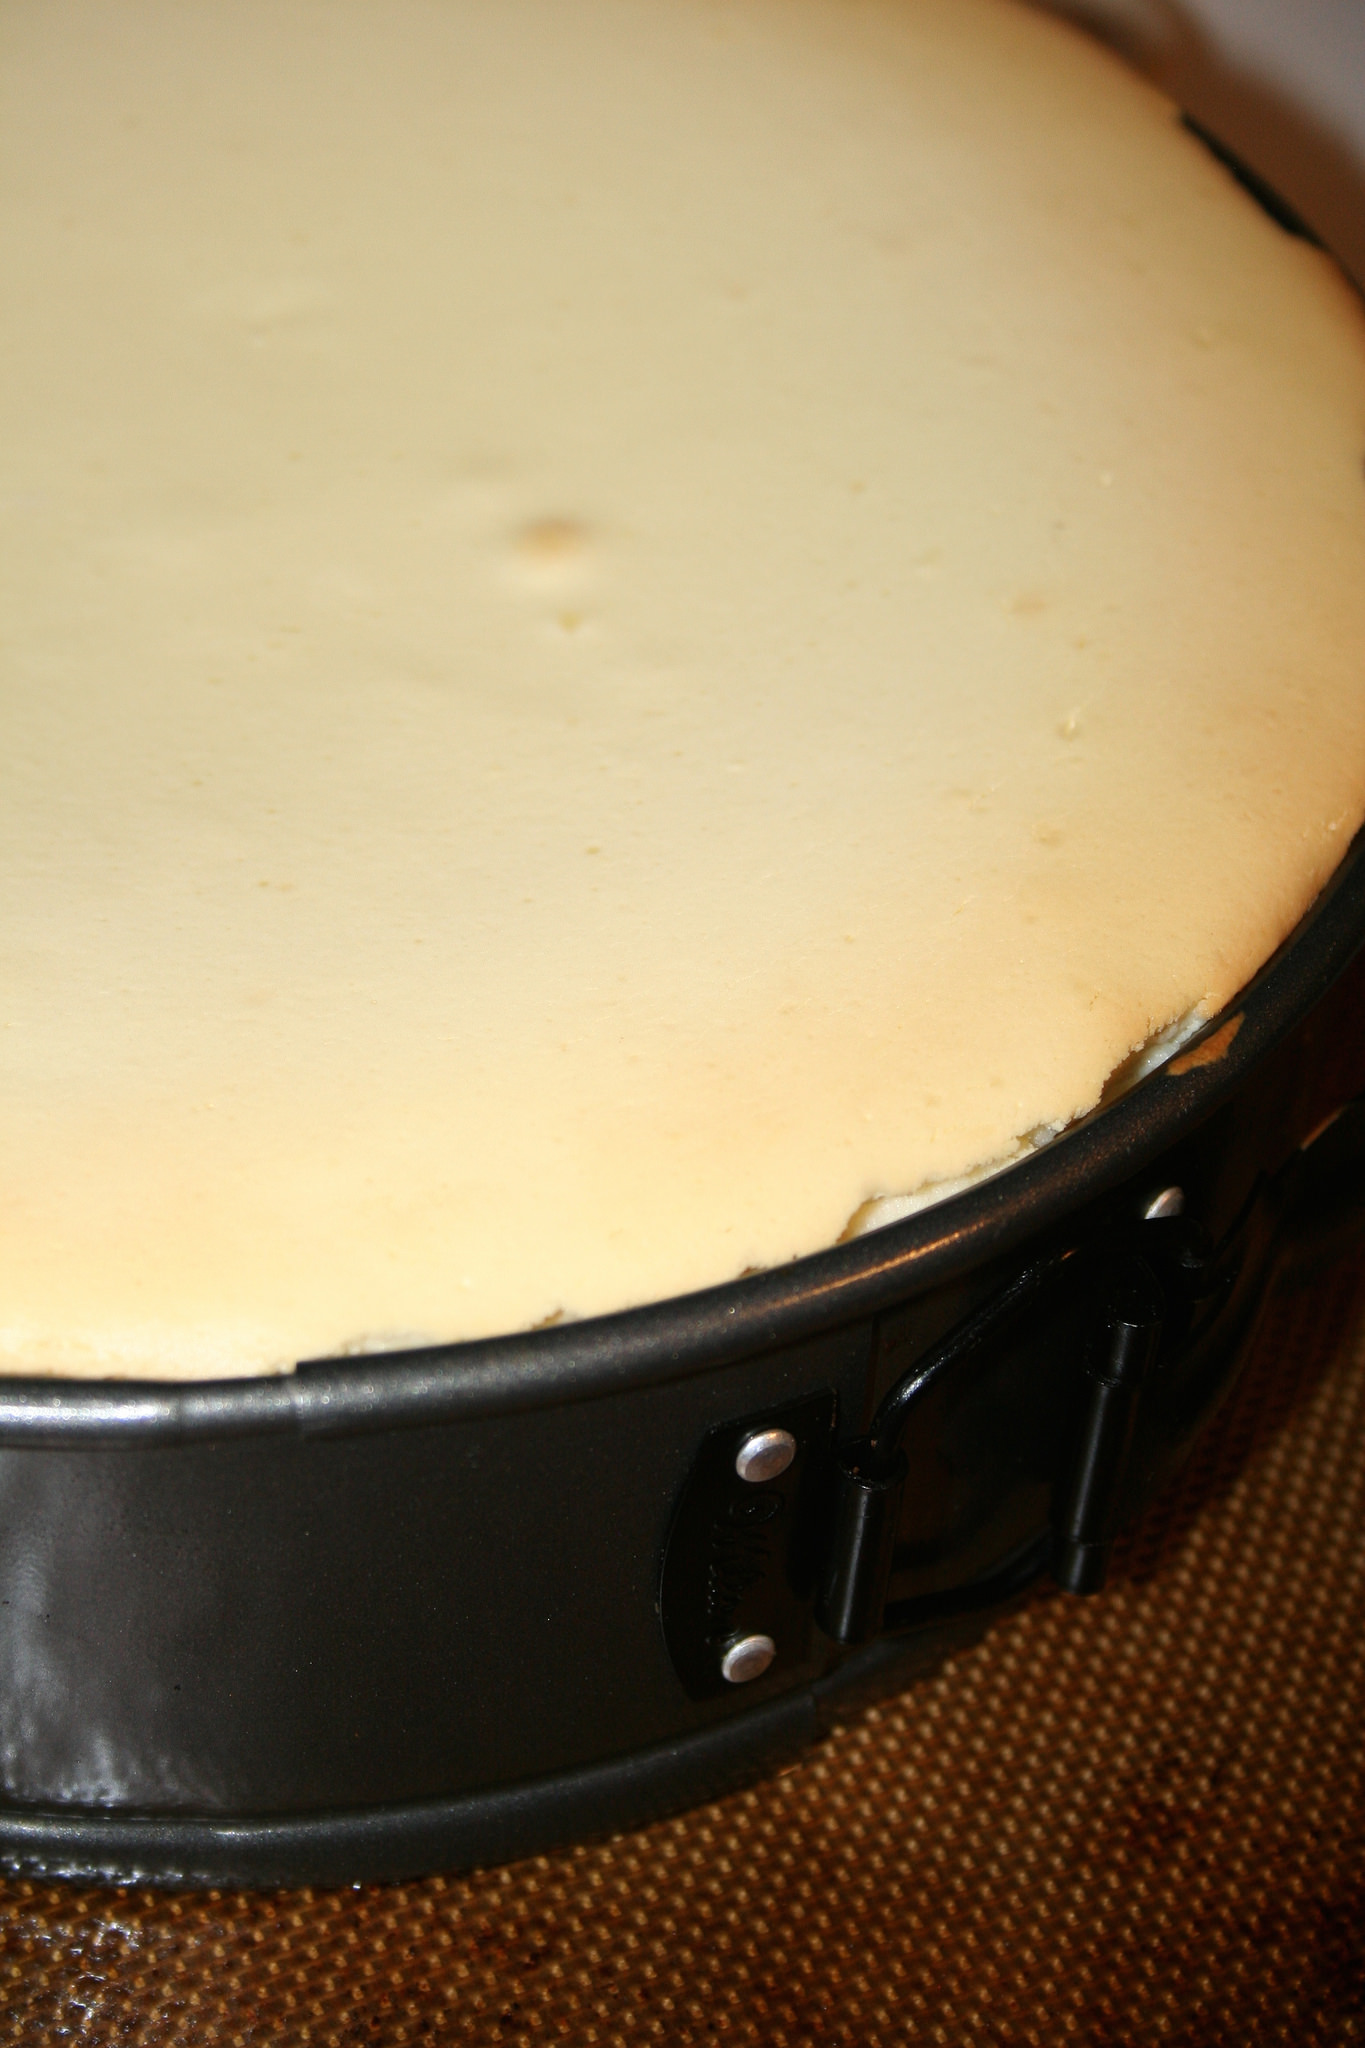
6. Avoid over-baking! Here’s how…
“Do not over-bake.” To me, this always seems like a completely unhelpful instruction in a recipe: How do you know when a cheesecake is over-baked? Here’s an easy trick:
Consider your cheesecake done when the edges and top look mostly set, but there is still a little jiggle in the middle of the pan — a perimeter of 3-4 inches in the center of the cake. Remove the cake from the oven when it still has this jiggle. It will continue to slightly cook internally and “set” as it cools, so removing your cake at the point that it seems slightly underdone will actually yield a cake that is just right when it’s time to serve.
7. Let your cheesecake cool completely before refrigerating.
Once your cheesecake comes out of the oven, it can be awfully tempting to put it right in the fridge so it can cool expeditiously. Resist the temptation.
Firstly, putting a hot cheesecake in the fridge can result in “sweating” or condensation, which will give your cheesecake an ugly appearance and gluey texture on top. Second, in my anecdotal experience, the cake tends to “set” heavier if it is put in the fridge too soon. Third, the shock of the temperature change can cause cracks in the top of your cake. Just give it time to cool on a wire rack before chilling!
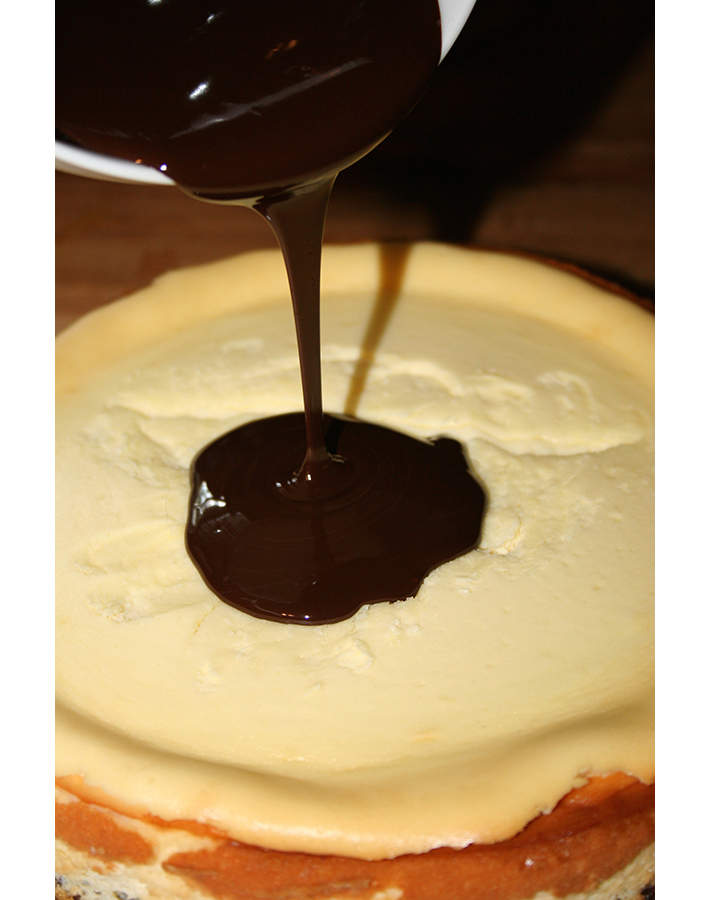
8. Cracks? Don’t panic. You can fix a cracked cheesecake.
Even with the most precise attention to detail, sometimes cheesecakes still crack on the top. If this does happen to you, it doesn’t mean you’re a bad baker, and it certainly doesn’t have to ruin your day.
To remove those cracks, as soon as you see them, run a knife under very hot water. Towel it dry, then run the knife gently over the crack. It should close the seam a bit, if not totally erase the crack.
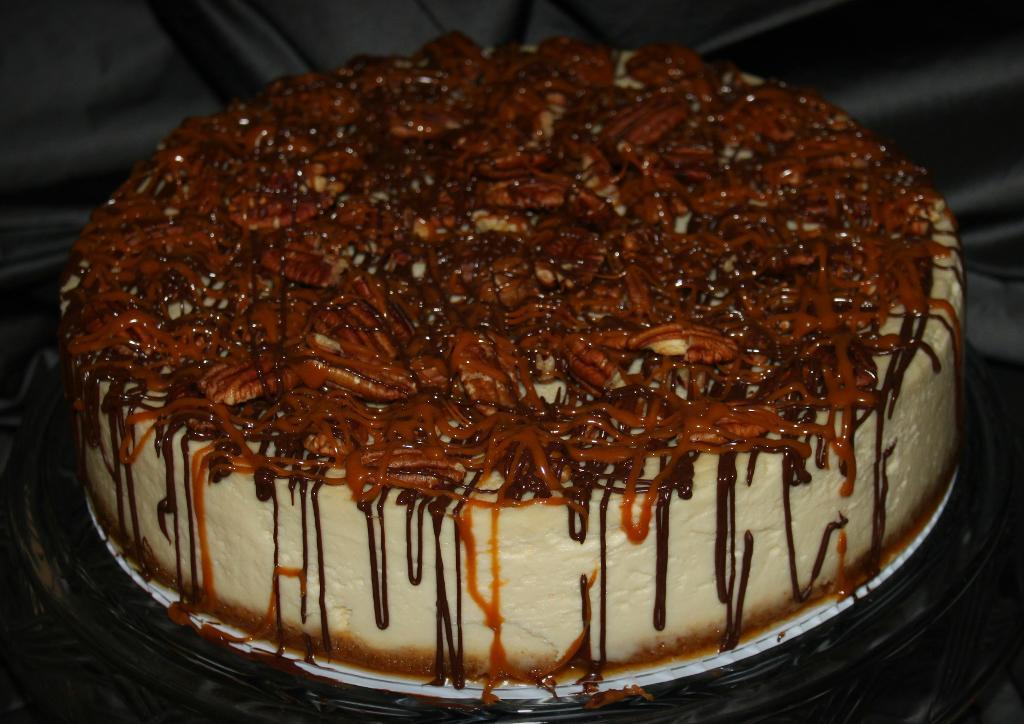
Of course, if the sealed-off crack still looks like a scar on top of your cake, it’s nothing that a delicious topping like caramel, chocolate ganache or another decoration won’t cover up.
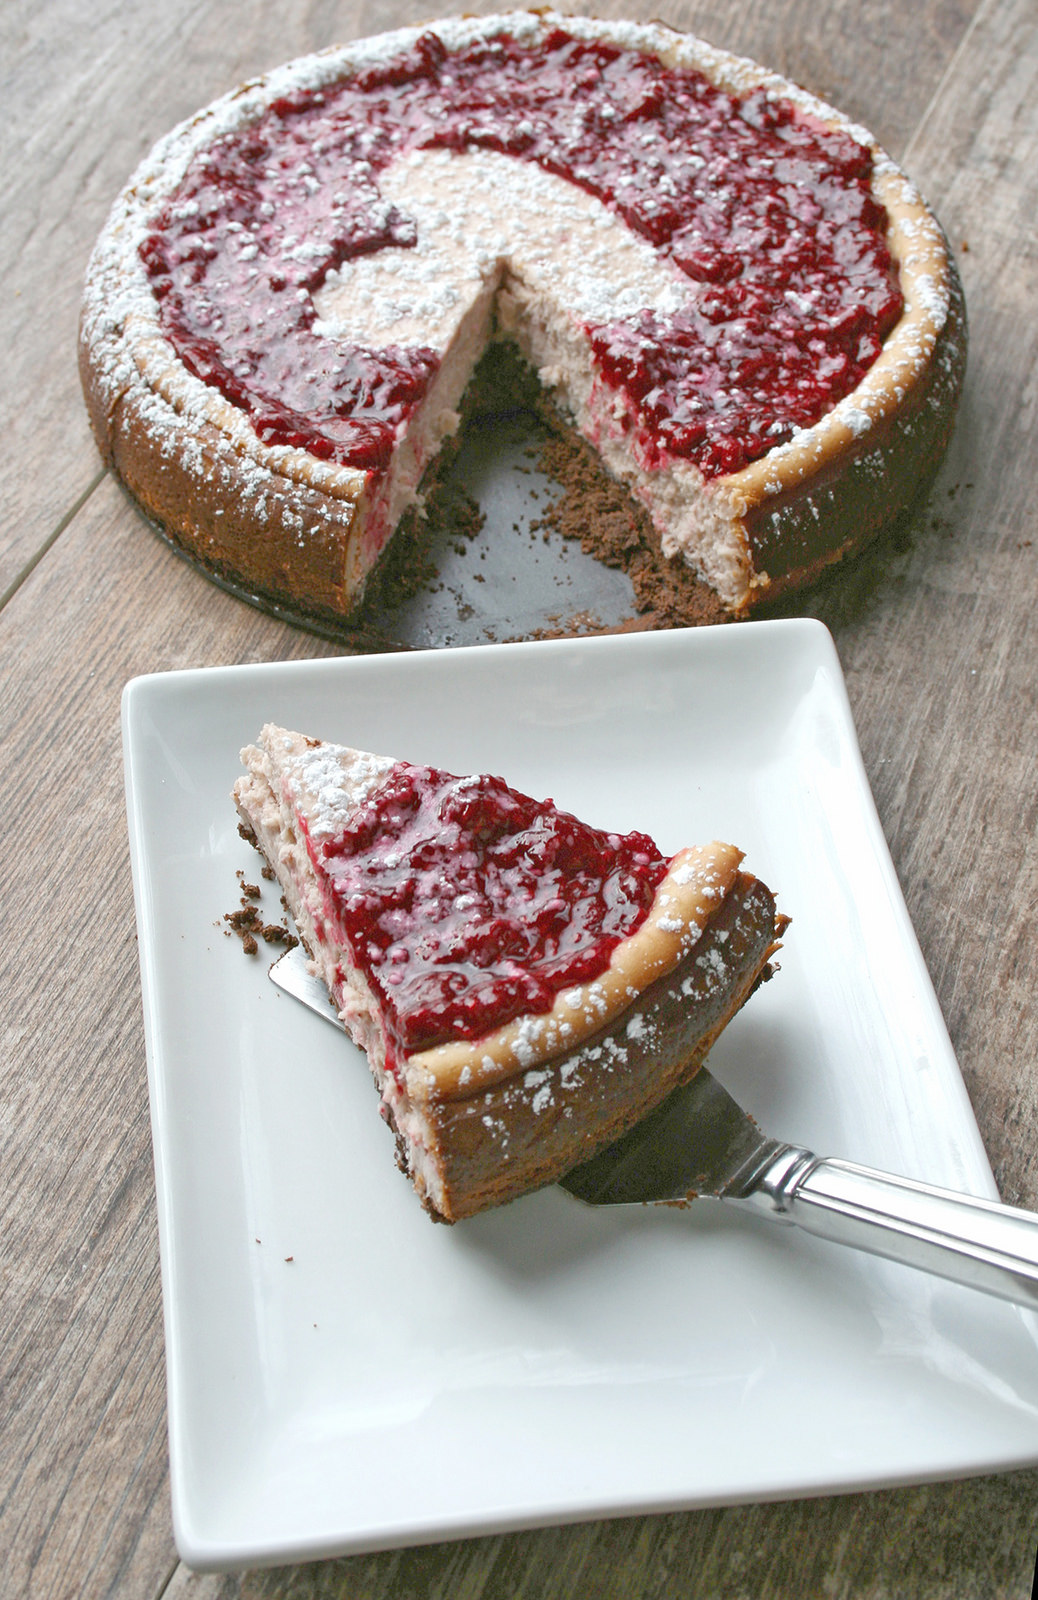
9. Slice your cheesecake with dental floss.
Looking for a way to slice cheesecake cleanly? Forgo the knife and use dental floss. Much like how a wire is used to cut clay, floss can cleanly cut and leave nice edges on your slice rather than ragged edges.
Hold the floss taut between your fingers at a length sufficient to cover the cake. Use a gentle sawing motion to draw it down through the cake. For best results, use unflavored dental floss!
Turtle cheesecake via Sweetie Pi
10. Store it properly.
You’ve made and served your beautiful cheesecake, but you’ve still got some left over. What to do? Store leftover cheesecake well wrapped in the refrigerator for up to 3 days. Keep it away from pungent-smelling foods in the fridge to avoid imparting an unwelcome aroma on your leftover dessert.
If you’ve made your cake in advance, consider freezing it. Cheesecakes freeze very well. To freeze a cheesecake, first let it cool to room temperature, then put it in the freezer, totally uncovered, for about 30 minutes. This will firm it enough to remove it from the springform pan. Place it on a plate or cardboard serving circle and wrap it tightly with plastic wrap.
Store in the freezer until you are ready to serve, but keep in mind that you’ll need to thaw the cheesecake in the refrigerator for several hours (or overnight) before serving. Freeze your cheesecake without toppings; apply those when you are ready to serve.
Make Your Best Cheesecake Ever!

These show-stopping cheesecakes will have people planning parties just so you show up with one of your new creations! Discover the secrets to your best cheesecake ever in these online HD video lessons.
Share tips, start a discussion or ask one of our experts or other students a question.
Already a member? Sign in
No Responses to “10 Ingenious Tricks for Cheesecake Success”